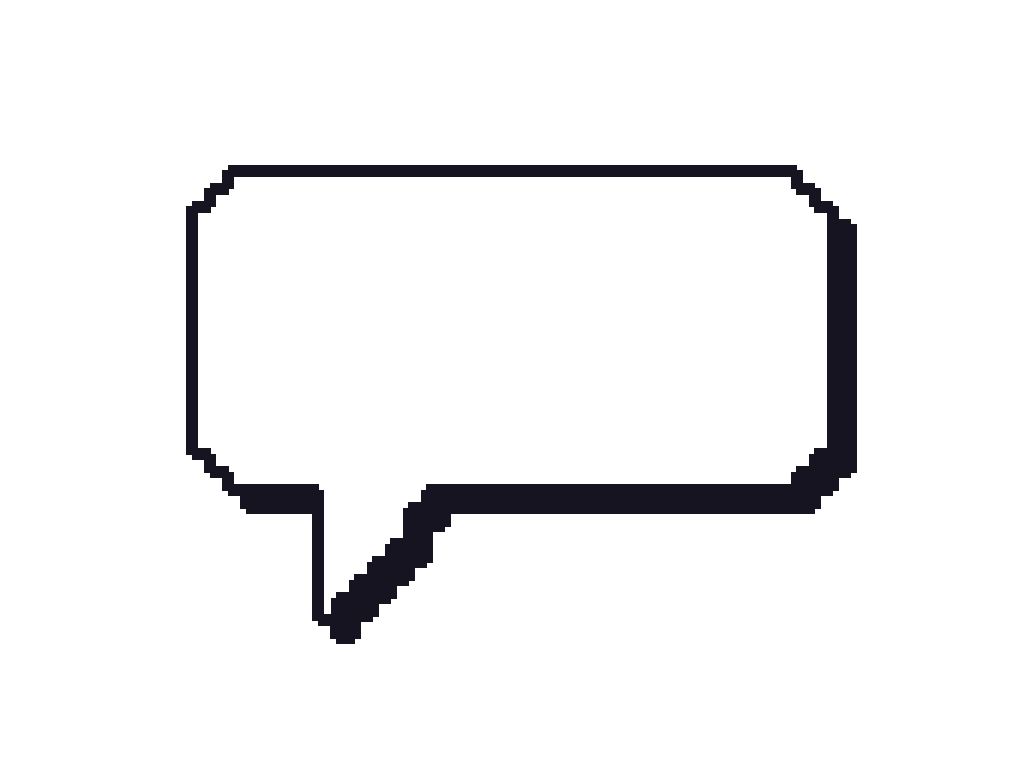
Start with the pixel preset
Choose a transparent bubble or try it on the sample puppy photo.
Opening your canvas…
SMALL PIXELS. BIG PERSONALITY.
Create a pixel speech bubble with a stepped outline and Press Start 2P lettering. Write a short line, adjust the colors and tail, then download a transparent PNG for your retro image or game dialogue mockup.
FROM PICTURE TO PUNCHLINE
Start with the sample. Make it yours.
Choose a transparent bubble or try it on the sample puppy photo.
The Pixel style automatically selects a pixel font. Choose colors and adjust the stepped tail.
Use transparent PNG for overlays. Keep the original size or a whole-number scale.
Photos up to 25 MB. Images wider or taller than 2400 px are resized on import. A larger export keeps lettering sharp, but cannot restore detail missing from your photo.
A STARTING POINT WITH A PURPOSE
The pixel preset starts on a clean canvas with a stepped outline, a stepped tail and Press Start 2P pixel lettering. Export with transparency to place the dialogue over your own artwork.
Drafts are saved separately for each tool on this device. Moving between tools keeps their workspaces independent.
8-bit style
A pixel speech bubble combines a stepped silhouette with a font that suits the same visual language. Choosing Pixel applies Press Start 2P automatically, with Courier New and monospace as fallbacks. You can change the font in Properties if the rest of your artwork needs a different voice. See the available font examples to compare pixel lettering with other styles in the editor.
Start with a short line such as “LEVEL UP!”, “Hello, player.” or “Take this key.” Pixel letters are wide, so a few words can need more space than the same sentence in a regular font. Increase the bubble width or insert a line break before reducing the type size.
HELLO,
PLAYER.
Outline & tail
Keep the outline and lettering dark against a light fill for a simple retro dialogue box. Try a limited set of colors from your artwork rather than adding several unrelated accents.
The body corners and tail use steps instead of smooth curves. Move the tail toward your character, then check that its direction is clear. A long diagonal tail can distract from a small sprite; bring the bubble closer when the composition allows.
The stepped look is a visual style, not a specific console specification. Use this tool for a retro image or game mockup; it does not generate game-engine dialogue code or enforce a particular sprite grid.
Transparent PNG
Whole-number output scales give the rendered text and outline more pixels, but the result is still a raster PNG. When resizing it in another app, avoid soft interpolation if you want a crisp pixel-art treatment. For an animated pixel bubble, choose GIF and an effect in Export image. GIF has a limited color palette and hard transparency edges. SVG export is not available.
Need a blank pixel chat bubble right away? Download the original 1024 × 768 PNG, or edit the blank pixel template.
Where to use it
For smooth comic balloons, use the comic speech bubble generator. For more ready-made blank shapes, browse the speech bubble PNG library.
Upload a scene and place one short line above a character. Check the bubble at the intended screen size, especially if the sprite is small.
Pair a short exclamation with a simple fill. Export the complete image if you want to share it directly.
Save a transparent PNG and an editable project. The PNG is for placement; the project keeps your words and shape available for the next version.
A FEW GOOD QUESTIONS
Yes. Change the text, fill, outline and tail in the editor. Choosing Pixel automatically applies Press Start 2P, with Courier New as a fallback. You can choose a different font in Properties.
Choose PNG and leave Transparent background on. Use the native size or a whole-number export scale to avoid uneven resizing later.